Frequently Asked Questions
All you need to know about Photobooth AI
🎉 Events
How does a Photobooth AI event work?
Photobooth AI events let you create a fully customized photobooth for a specific occasion: wedding, party, trade show, etc. In event mode, you can:
- customize the photobooth appearance with your logos, colors, and photo frames
- configure multiple options: photo sharing, printing, guest access, etc.
- assign a specific number of credits to be used during the event
- ensure that only photos taken during this event are visible in that dedicated space
Each event is independent and allows you to clearly separate your use cases, whether for a client, a brand, or a particular audience.
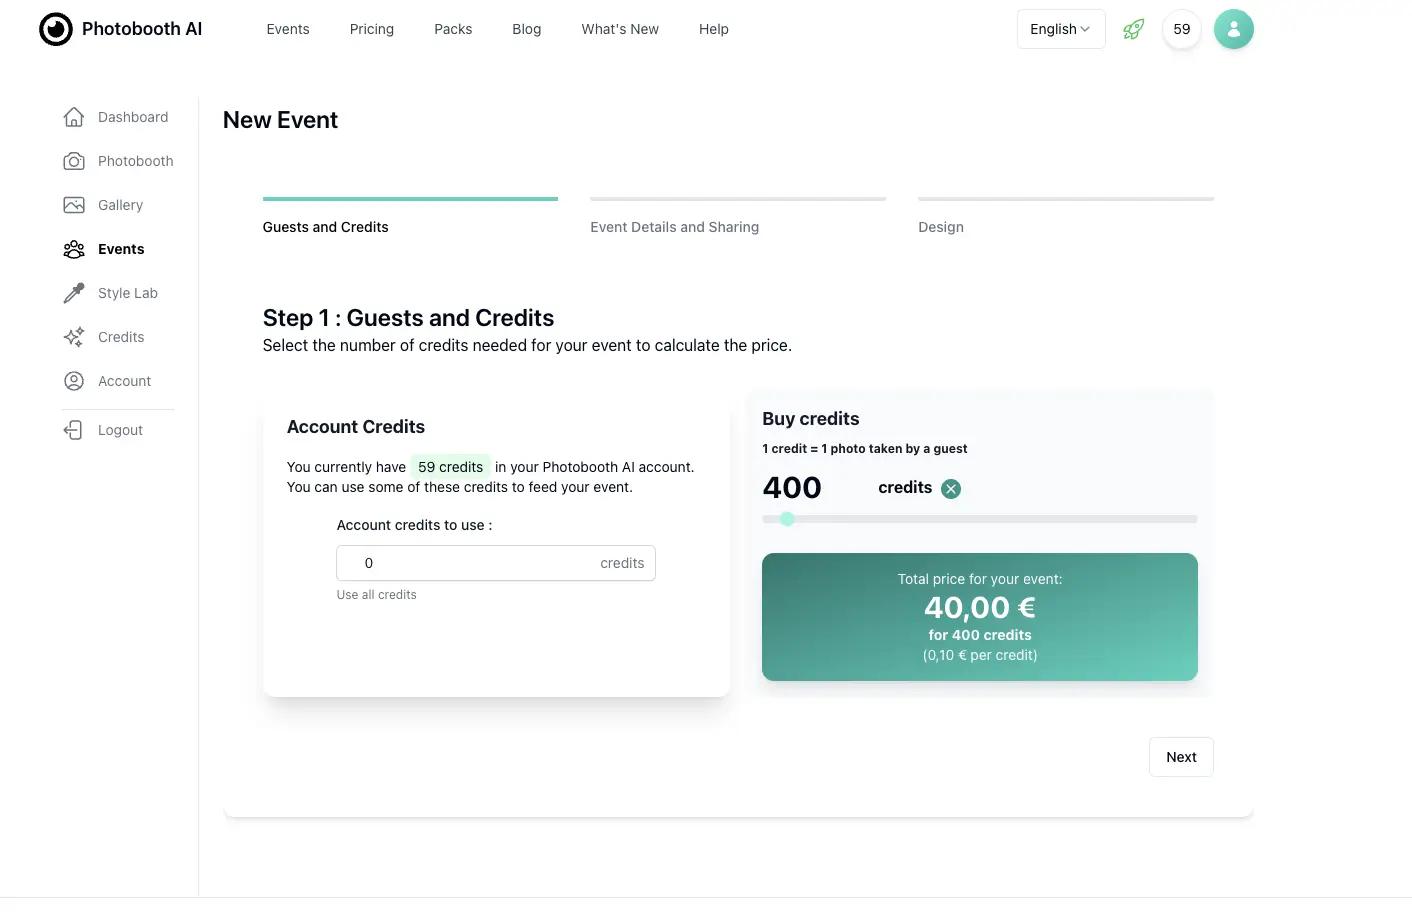
How do I buy credits for my event ?
When creating your event, simply specify how many credits you want to allocate for photo generation. You can either purchase new credits or use credits from your general balance and assign them to the event.
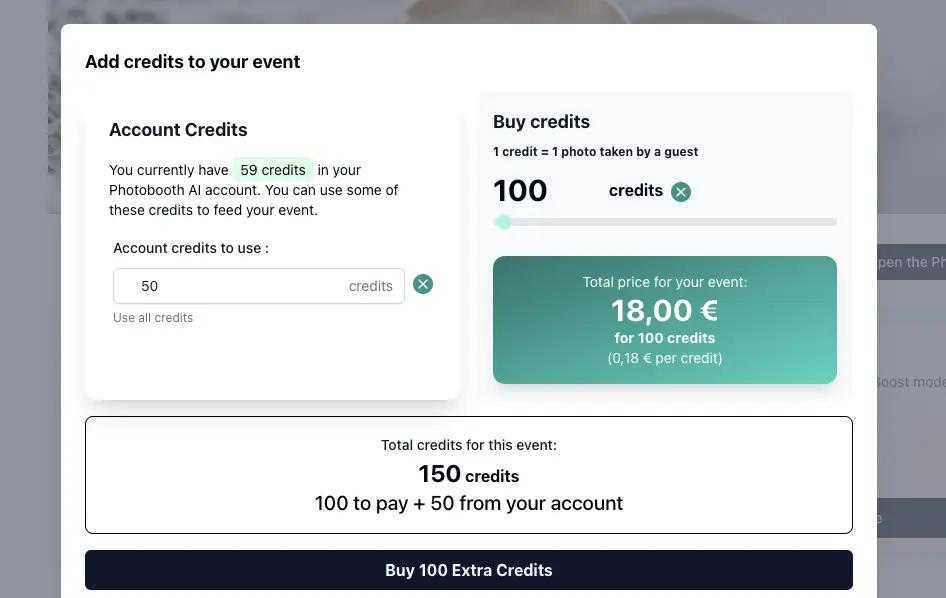
If you need additional credits during your event, no problem – you can add them at any time. Simply go to your event’s detail page, click the Purchase additional credits button, and they’ll be added to your balance instantly.
At the end of your event, any unused credits are not lost. You can return them to your main balance and use them for a new event, or reuse the same event later. Photobooth AI credits do not expire.
How do I set up my event?
The event creation form lets you configure all available options: number of credits, access settings, photo sharing, photobooth appearance, photo format, and more. Once your event is created and credits are paid, you get access to its dashboard to manage everything in real time.
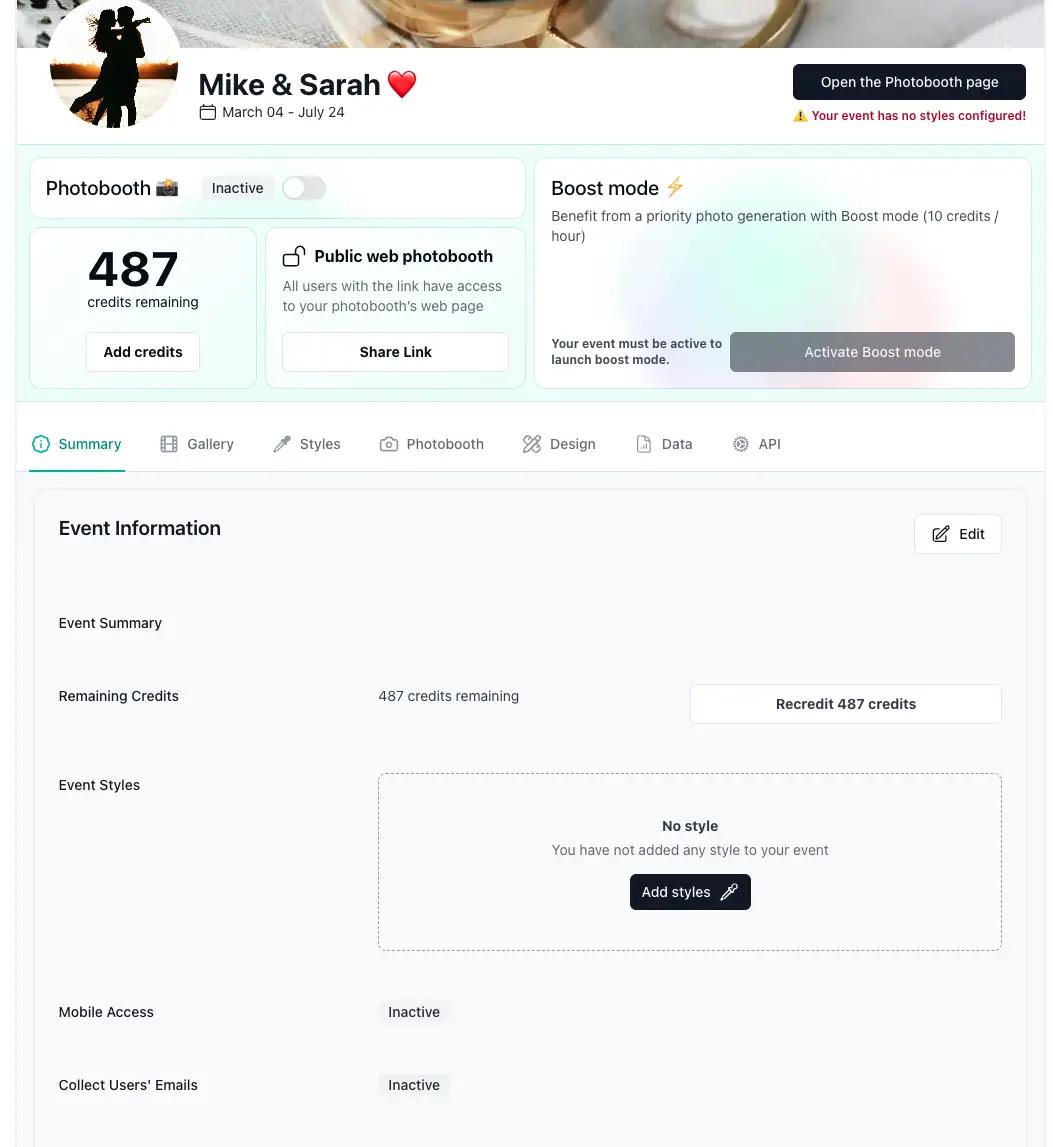
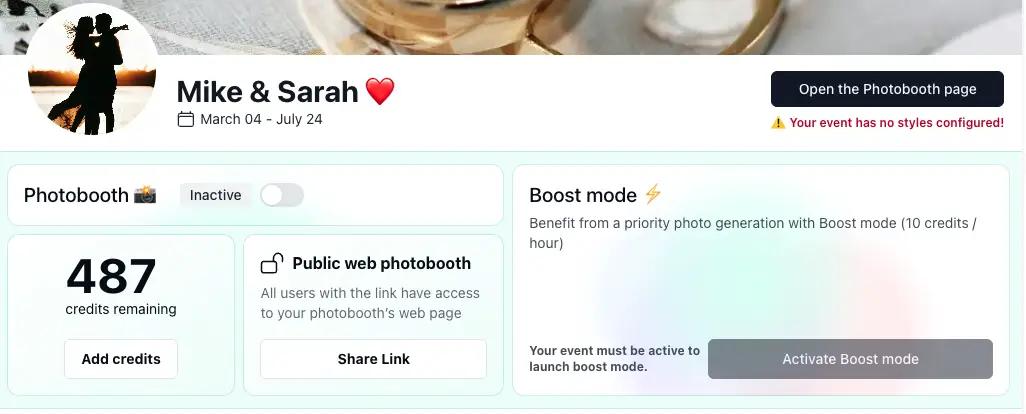
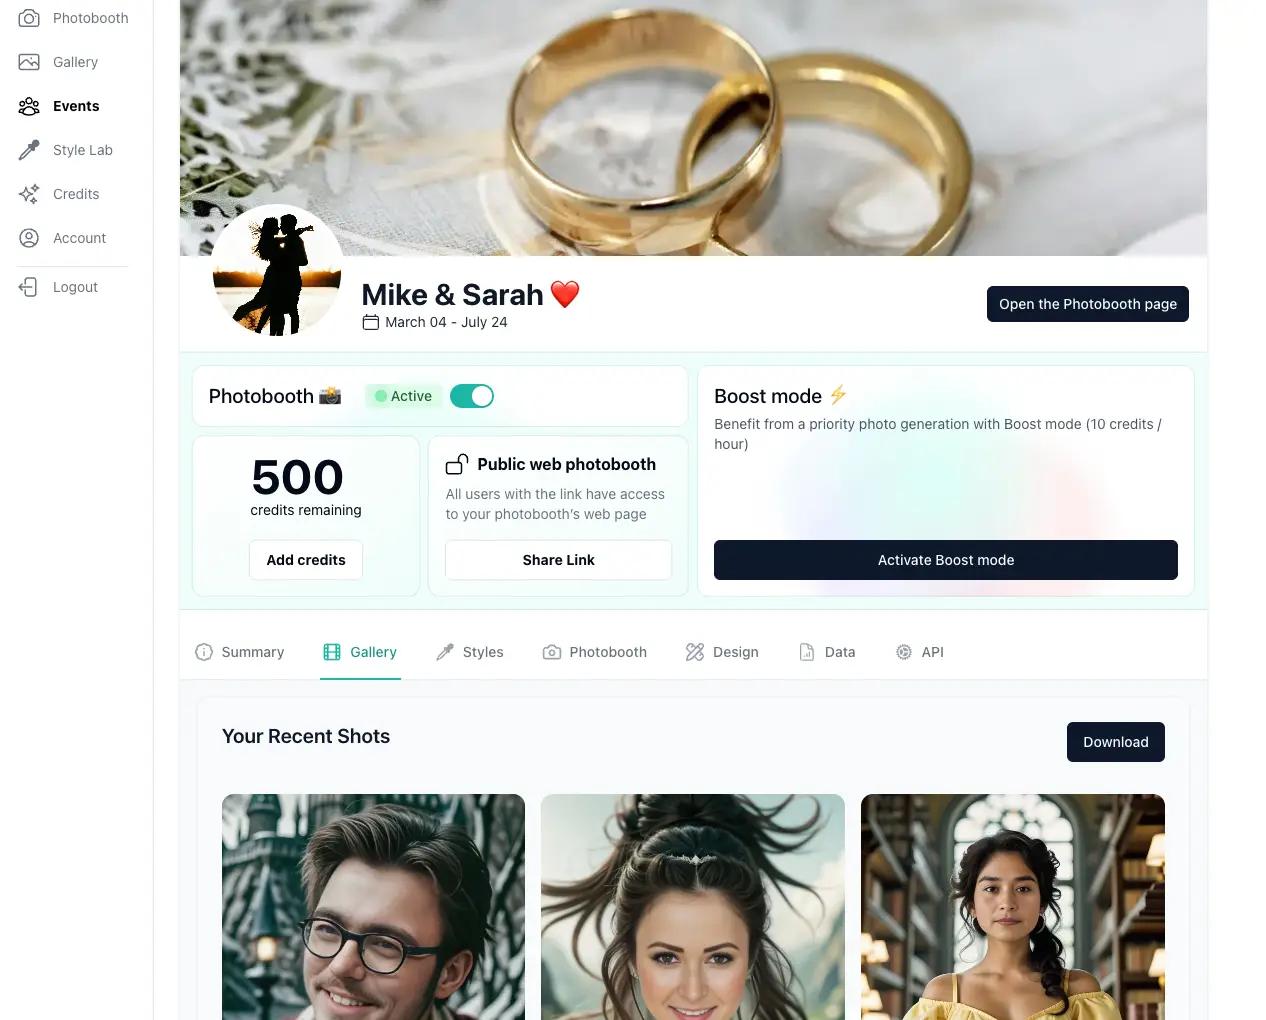
The top section of your dashboard contains all the essential information and actions for managing your event. You can activate or deactivate your photobooth, choose to make it publicly available online or keep it private, activate the boost mode to speed up photo generation, and manage the credits associated with your event.
The remaining event settings are organized into several tabs.
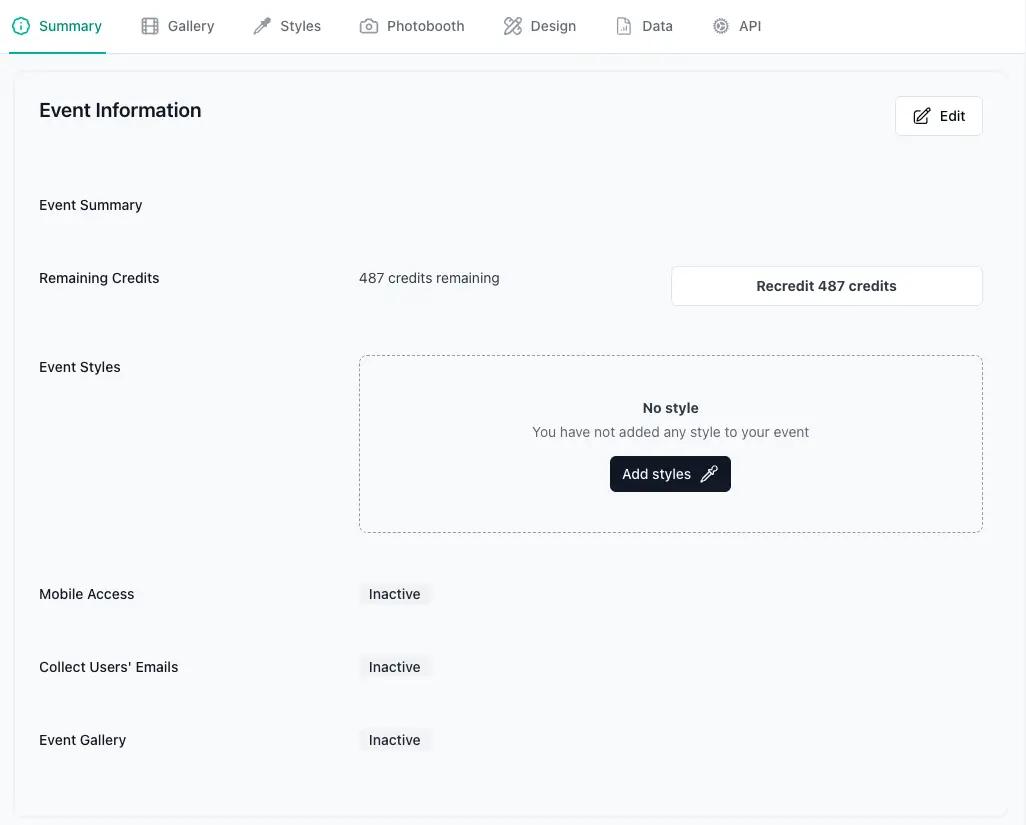
- Summary This tab gathers all the key information about your photobooth: summary, event dates, remaining credits, and selected styles. Here, you can also configure sharing options: collect guest emails, allow access via the mobile app, and enable or disable the photo sharing link.
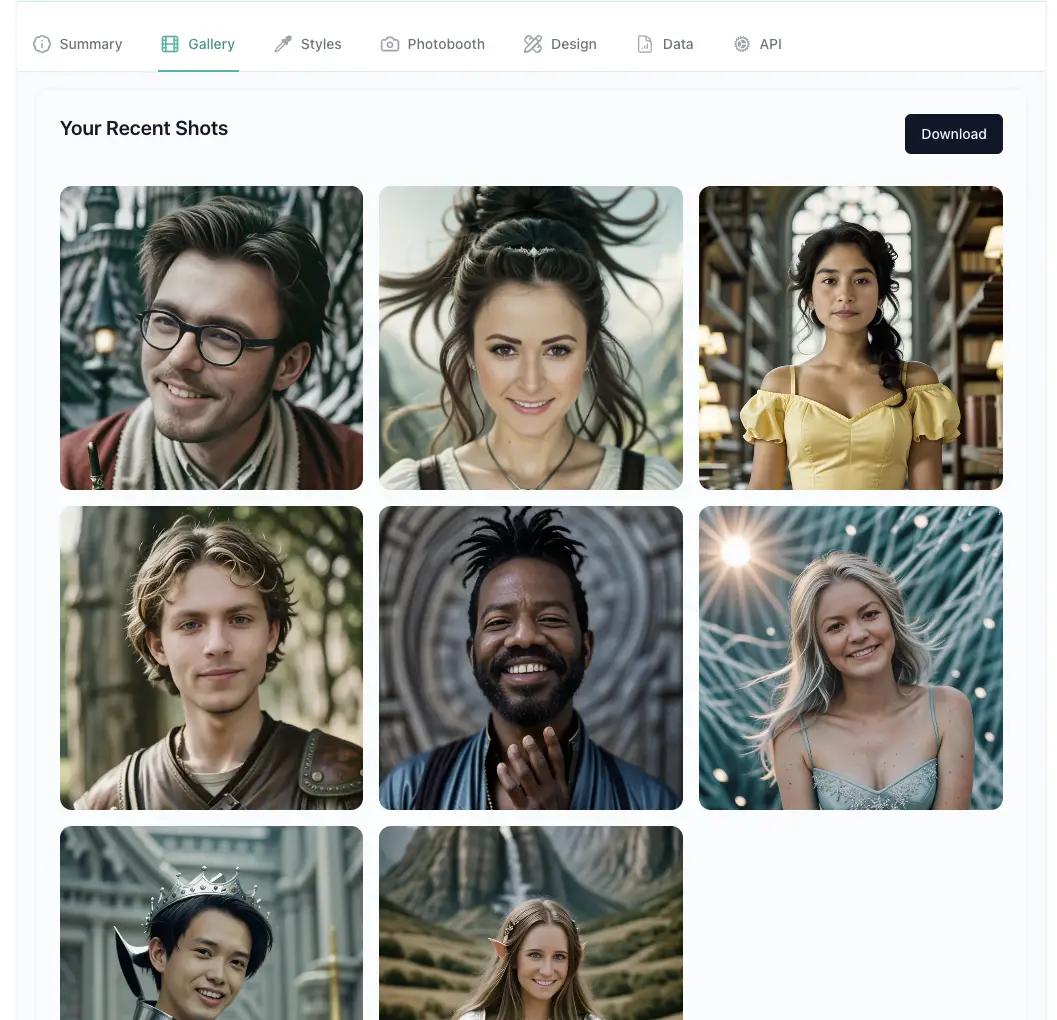
- Gallery The gallery contains all the photos taken during your event. You can download them with a single click or delete the ones you don't want to keep.
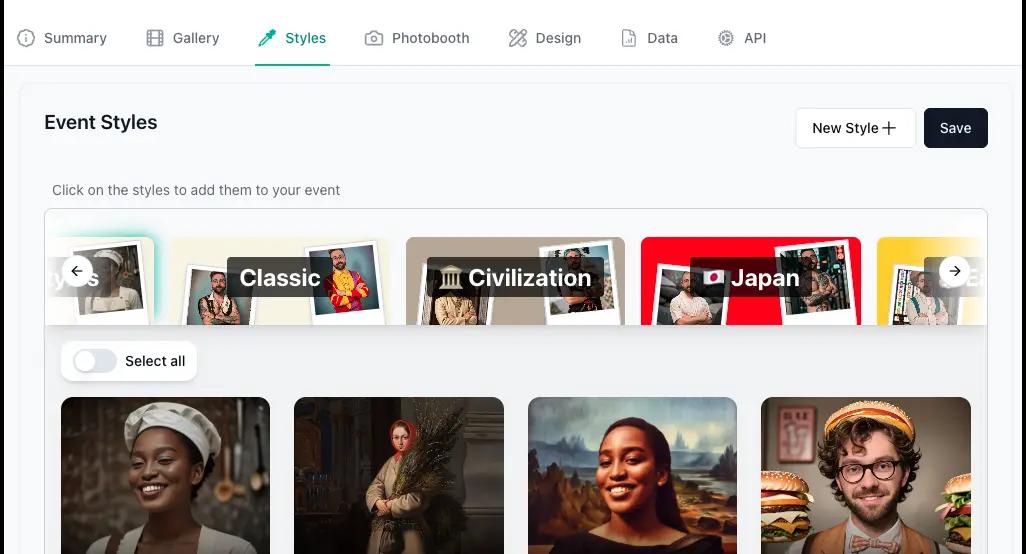
- Styles Select the styles you want to offer your guests, or create your own custom styles.
- Photobooth Customize your photobooth’s appearance by selecting colors, a logo, and a banner image. You can also set how it works: enable or disable printing for guests, choose whether event photos appear on the homepage, and decide if the web photobooth link should be public or private (accessible only from your account).
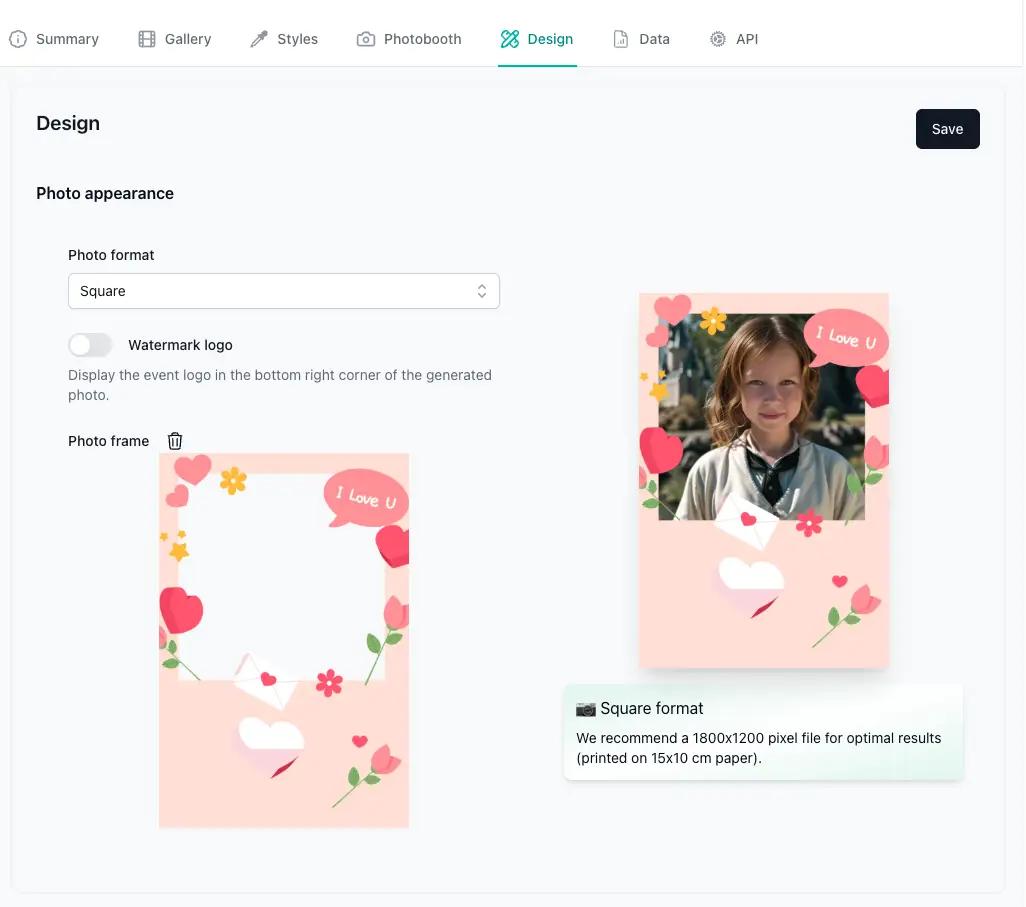
- Design Set the look of your photos by selecting a format (square, portrait, or landscape) and a mask to apply (transparent PNG file).
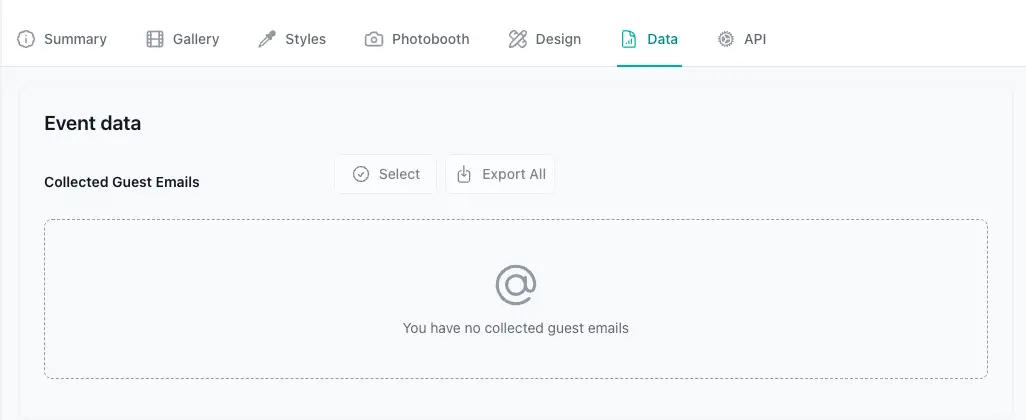
- Data If you enabled the email collection option, all the email addresses gathered during your event will be available here.
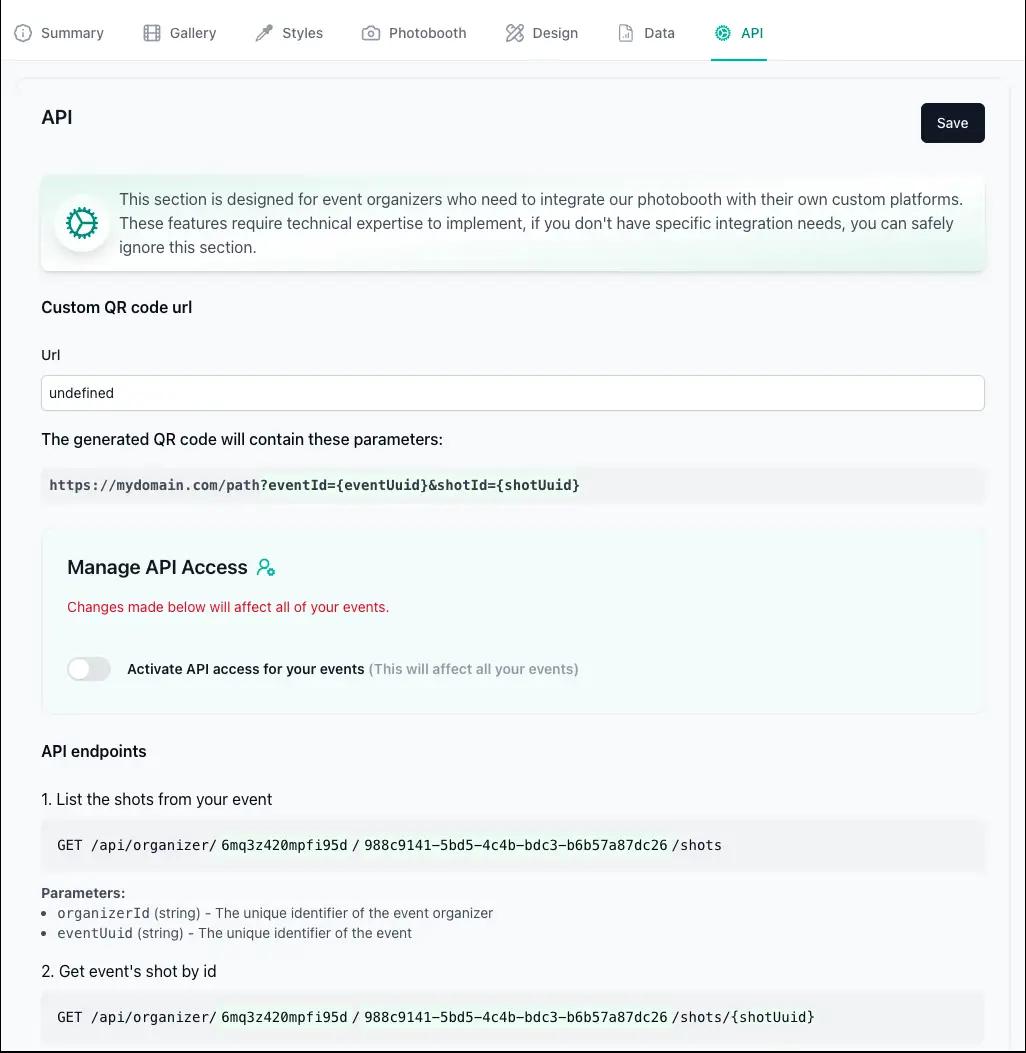
- API This section is intended for organizers who want to integrate Photobooth AI with their own tools or platforms through our API.

No matter which option you choose, you can enable or disable the photo gallery at any time, depending on whether you want your guests to see the photos taken during the event.
How can I share access to my event with my guests?
Once your event is created and credits are assigned, you can access its management dashboard. From this page, you can configure all event settings. The Activate Event button allows you to enable or disable access to your photobooth. You have three sharing options:
- Web App Click on Open Photobooth Page to access the web version of your photobooth. By activating the public photobooth option, the link can be freely shared: anyone with the link will be able to use your photobooth.
- Mobile App on your own device (iOS or Android) Open the Photobooth AI mobile app, log in to your account, and find your event in the Events tab. Once the event is activated, the app switches to event mode and only your event’s photobooth will be accessible.
- Mobile App on your guests’ devices (iOS or Android) From your dashboard, activate the Mobile Access option. Each guest must download the Photobooth AI app and enter a code to join your event on their own device.
No matter which option you choose, you can enable or disable the photo gallery at any time, depending on whether you want your guests to see the photos taken during the event.
How to share pictures from an event ?
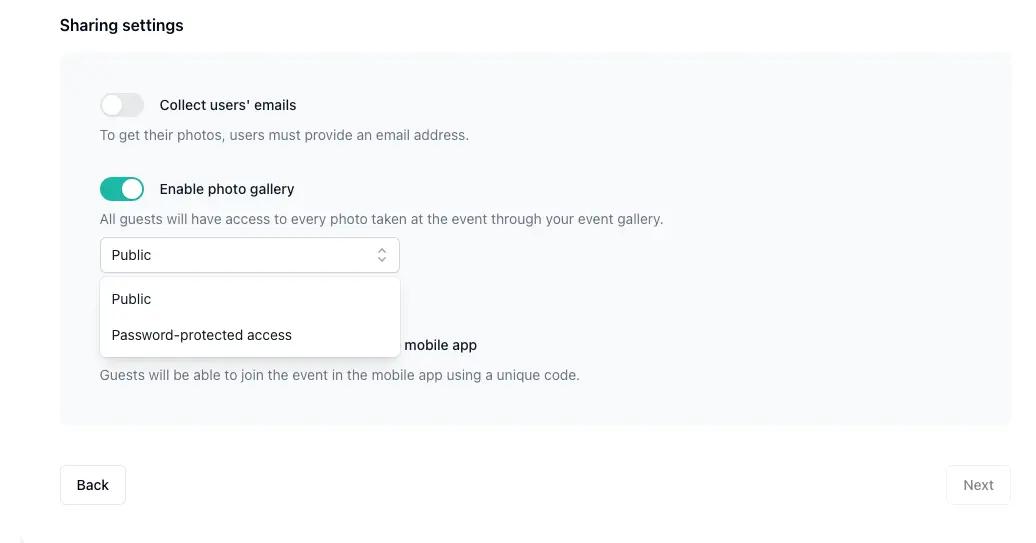
When creating an event, you will be prompted with the option Enable Gallery Page. If toggled, this option creates a centralized page where all the event photos will be displayed, making it easy for guests to view and access the pictures taken during and after the event. Two options are available to share the gallery:
- Public Mode : Every user with a link can access the gallery page.
- Password Mode : Users will be prompted to enter a password to access the gallery page. Password is displayed on your Event Detail page under the Event share parameters section.
If Gallery is activated, the gallery url will be displayed in your Event Detail page. The link is available for 1 year to your and your guests.
Photos taken during the event are securely stored on Amazon S3, ensuring high reliability and quality. As the organizer, you can access all event photos from your event dashboard. You also have the option to download all the photos at once as a ZIP file.
GDPR — Consent notice for participants
As the event organizer, you are responsible for informing participants that their photos will be processed by AI before they use the photobooth. You can display the notice below at your venue (entrance, check-in desk, etc.).
Open the file in your browser and use 'Print → Save as PDF' to generate a printable A4 document. Fill in your organization name, contact email, and retention period before printing.
Download consent notice templateWhat happen to unused credits from my events?
Once your event is over, any unused credits allocated for the event can be easily returned to your general credit balance. To do this, simply click the Recredit Button on the Event Detail page.
The returned credits will be recredited to your account, where they can be reused for single-shot photos or applied to future events. This feature ensures that no credits go to waste, giving you maximum flexibility to use them as you need.