How to Set Up Your Photobooth for Your Event with Photobooth AI
Add an original photobooth to your event while keeping your budget under control — it’s possible thanks to Photobooth AI. No need to rent an expensive booth or manage equipment logistics. In just a few moments, turn your tablet, phone, or computer into a creative photobooth. Discover in this article how to quickly and easily set up your photobooth with Photobooth AI:
1. Install the Photobooth AI App
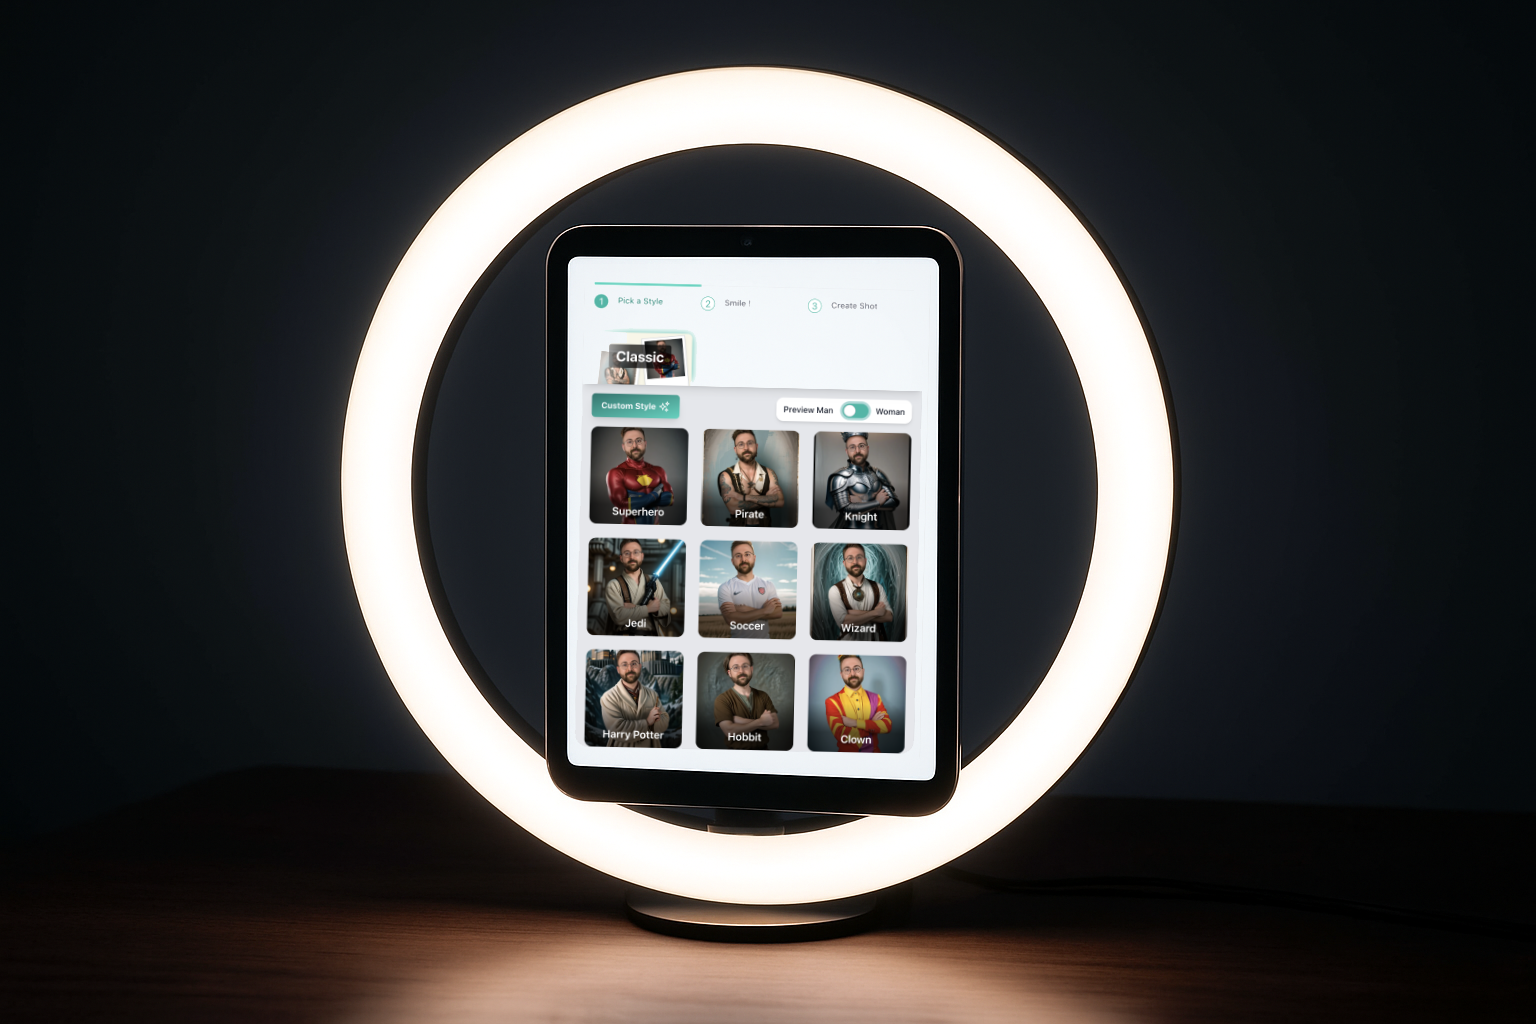
Photobooth AI transforms any iPad, phone, or computer into an extraordinary photobooth. Thanks to artificial intelligence, the app automatically generates creative portraits from photos taken live during your event.
🌐 A connected device
To work properly, Photobooth AI requires the use of a tablet, phone, or computer. It’s essential that this device has a stable and active internet connection throughout the event to enable real-time portrait generation by the AI.
To work properly, Photobooth AI requires the use of a tablet, phone, or computer. It’s essential that this device has a stable and active internet connection throughout the event to enable real-time portrait generation by the AI.
📱 Available on iOS, Android, and Web
Once your equipment is ready, you can download the app from the App Store or Google Play, or access it directly via a browser by visiting photobooth-ai.app.
Once your equipment is ready, you can download the app from the App Store or Google Play, or access it directly via a browser by visiting photobooth-ai.app.
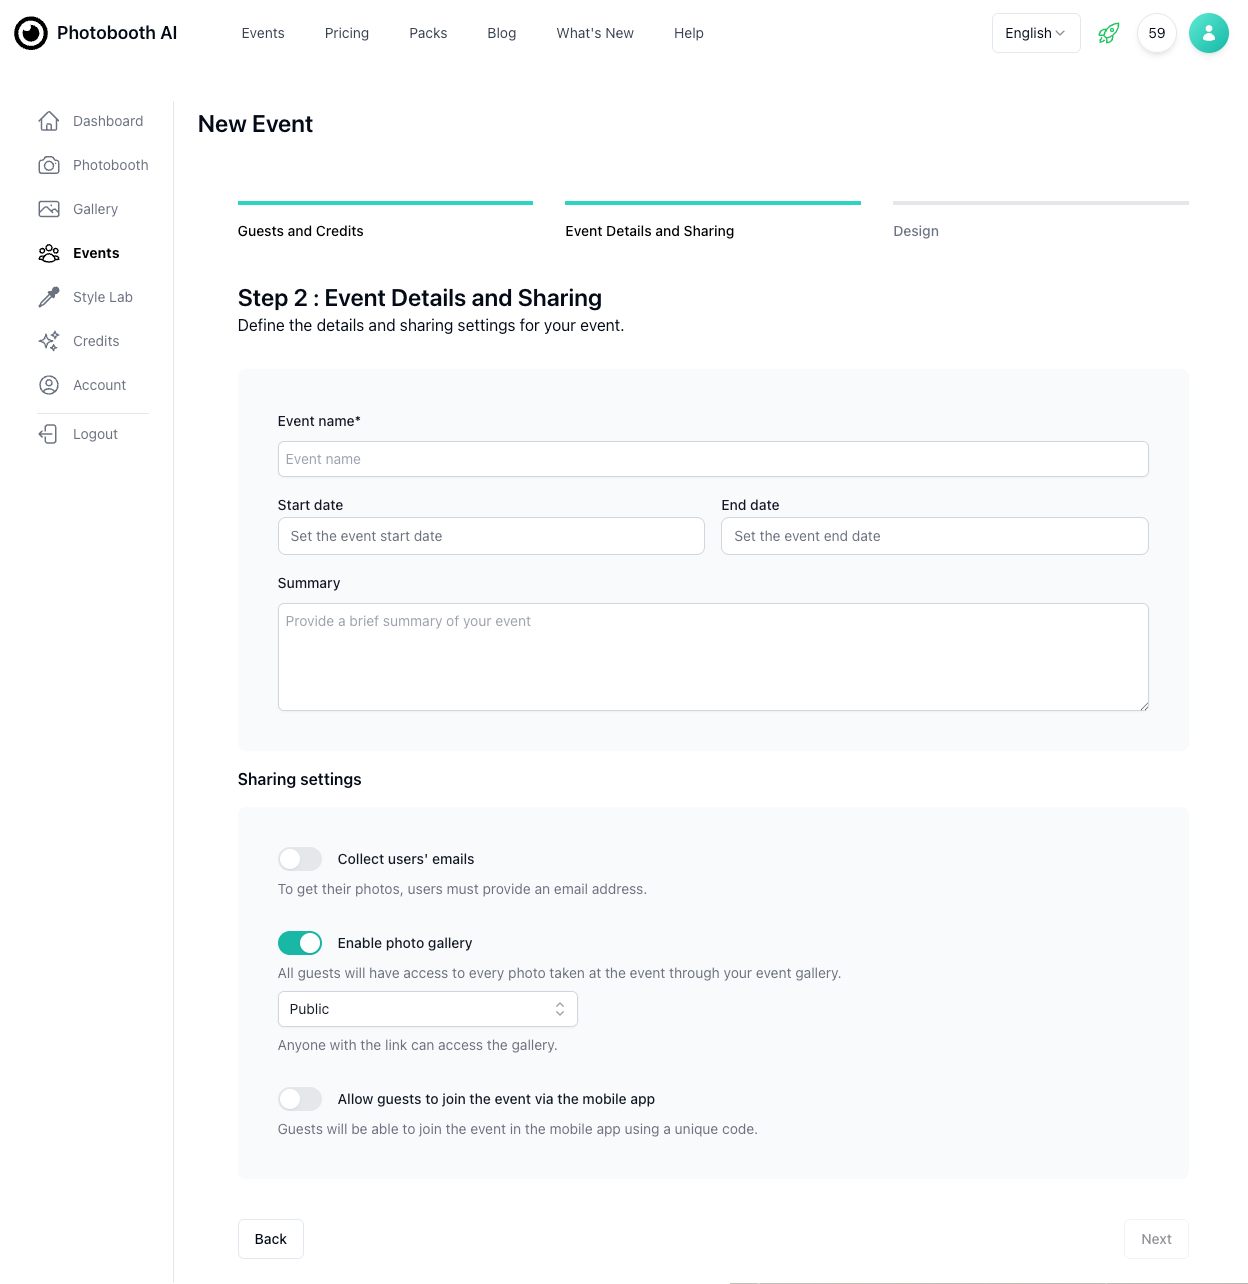
After creating your account on photobooth-ai.app, you can easily set up your first event. Follow our step-by-step guide available here to assist you. Once your event is created, your photobooth will be accessible directly from the mobile app or your event dashboard on the web version.
2. Prepare the Photobooth
To ensure a smooth and secure experience, it is essential to properly equip your setup with stable and suitable hardware. Here are two essential items to properly fix and position your tablet:
🦿 A stable tripod
Choose a photo tripod or lighting stand sturdy enough to guarantee the stability of the setup. It must support the weight of the device without risk of tipping over, while allowing height adjustment for comfortable framing.
Choose a photo tripod or lighting stand sturdy enough to guarantee the stability of the setup. It must support the weight of the device without risk of tipping over, while allowing height adjustment for comfortable framing.
📱 A tablet holder to attach to the tripod
Use a clamp specifically designed to hold an iPad, compatible with tripod mounting. This holder must be strong and secure to keep the tablet firmly in place even with frequent use by guests.
Use a clamp specifically designed to hold an iPad, compatible with tripod mounting. This holder must be strong and secure to keep the tablet firmly in place even with frequent use by guests.
Here are some recommended tripod models to ensure stability and practicality for your setup:
💡 Don’t forget to check your tablet or mobile device dimensions to ensure compatibility with the stand you choose.
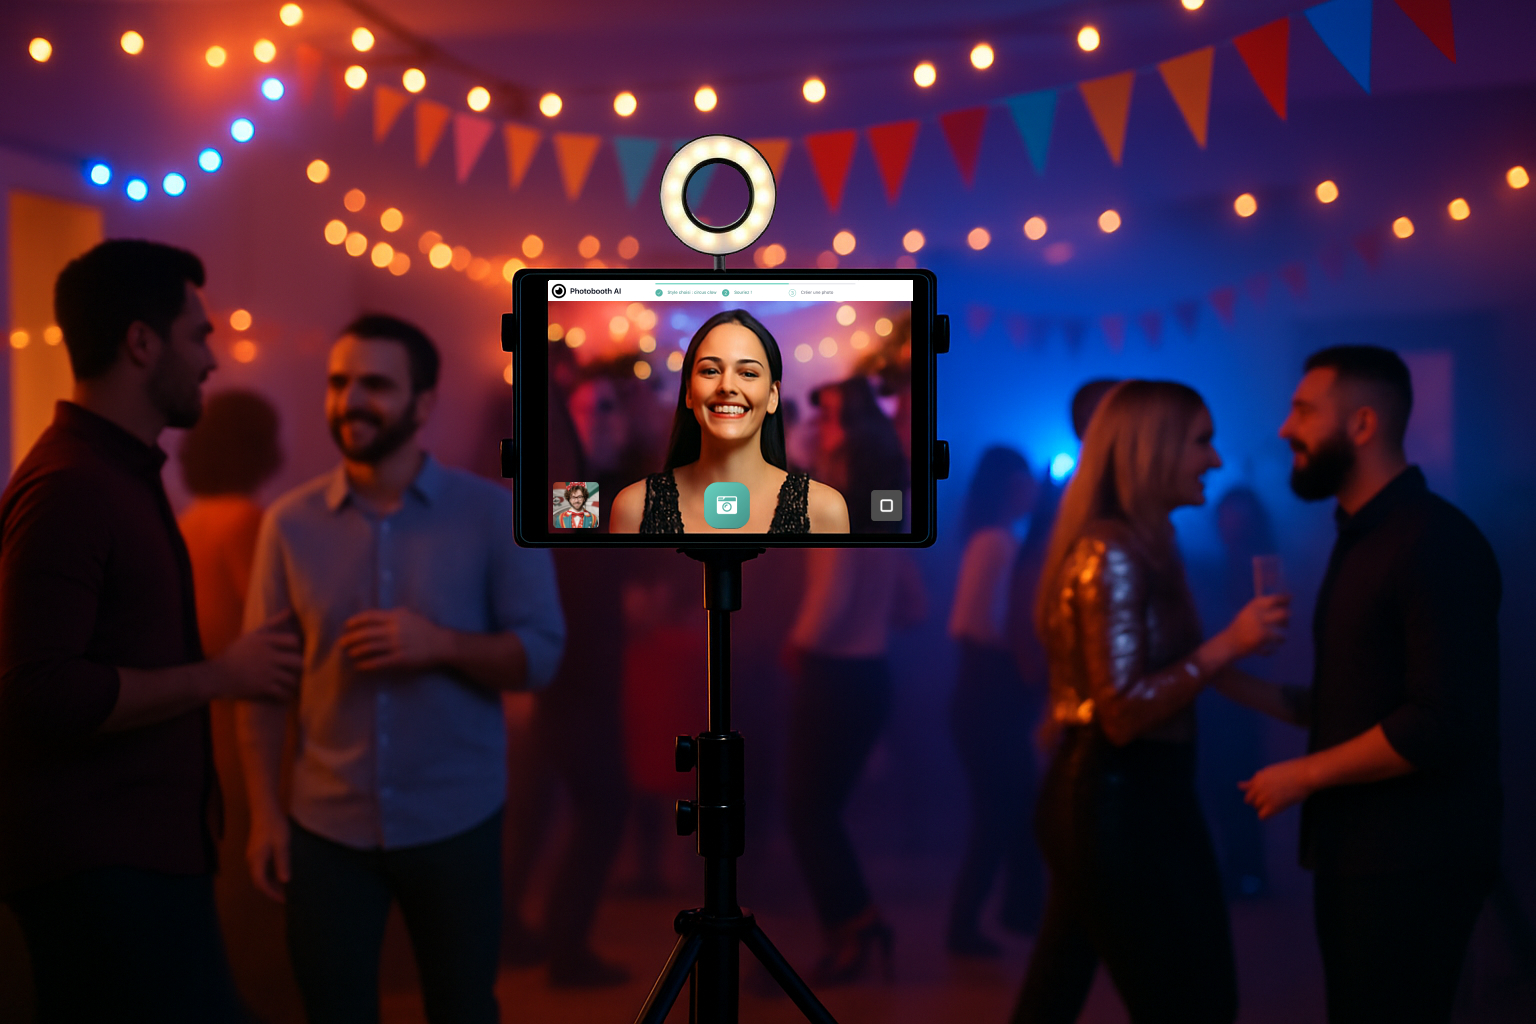
3. Position and Light Your Photobooth
Start by carefully choosing the location of your photobooth. It should be visible enough to attract guests’ attention, while staying in an open space to avoid congestion. For a smooth and pleasant experience, set it up preferably in a strategic corner or against a wall, away from busy areas like buffets or the dance floor.
Unlike traditional photobooths, Photobooth AI relies on artificial intelligence to transform portraits into unique images. For optimal results, prefer a plain, well-lit background without patterns. Lighting plays a crucial role in image quality: if natural light is insufficient, consider adding a ring light, LED panel, or any other light source able to properly illuminate faces.
Here are some recommended lighting options to ensure optimal light and enhance your portraits:
To help the AI detect faces and bodies more easily, your guests should pose one at a time, well centered in the frame. Be sure to leave enough space around the photobooth so each guest can easily position themselves facing the iPad, standing without constraints. A good distance and a clear environment are essential to allow natural poses and good framing.
💡 A well-prepared background and individual shots guarantee quality, sharp, and harmonious transformations.
4. (Optional) Add a Printer
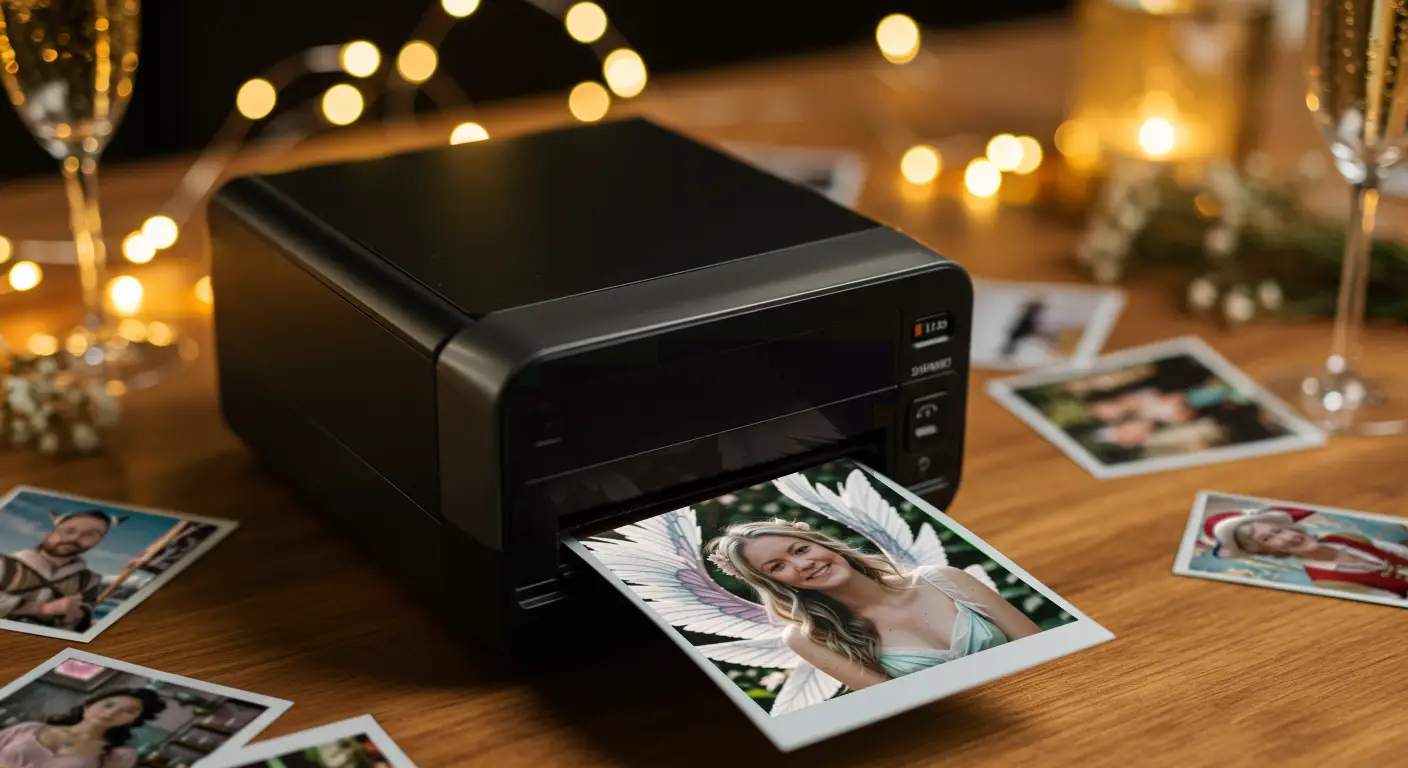
To enhance the Photobooth AI experience, offer your guests the possibility to
take home a printed copy of their AI-generated portrait. Simply connect your
setup to a photo printer compatible with your device, such as AirPrint for iPad
or an equivalent solution for other systems.
Prefer a compact and fast printer capable of printing in 10x15 cm format for easy integration into your mobile setup. Most portable models on the market print within less than a minute. Make sure the printer is connected to the same Wi-Fi network as your device, a necessary condition for printing through the app on iPad, Android, or Web.
💡 A lightweight printer with good wireless connectivity is ideal to accompany a tablet-based mobile installation.
Here are some recommended models to quickly and easily print your guests’ portraits:
If you have any questions or need assistance, don’t hesitate to contact our support team.
And voilà, your photobooth is ready! 📸🎉